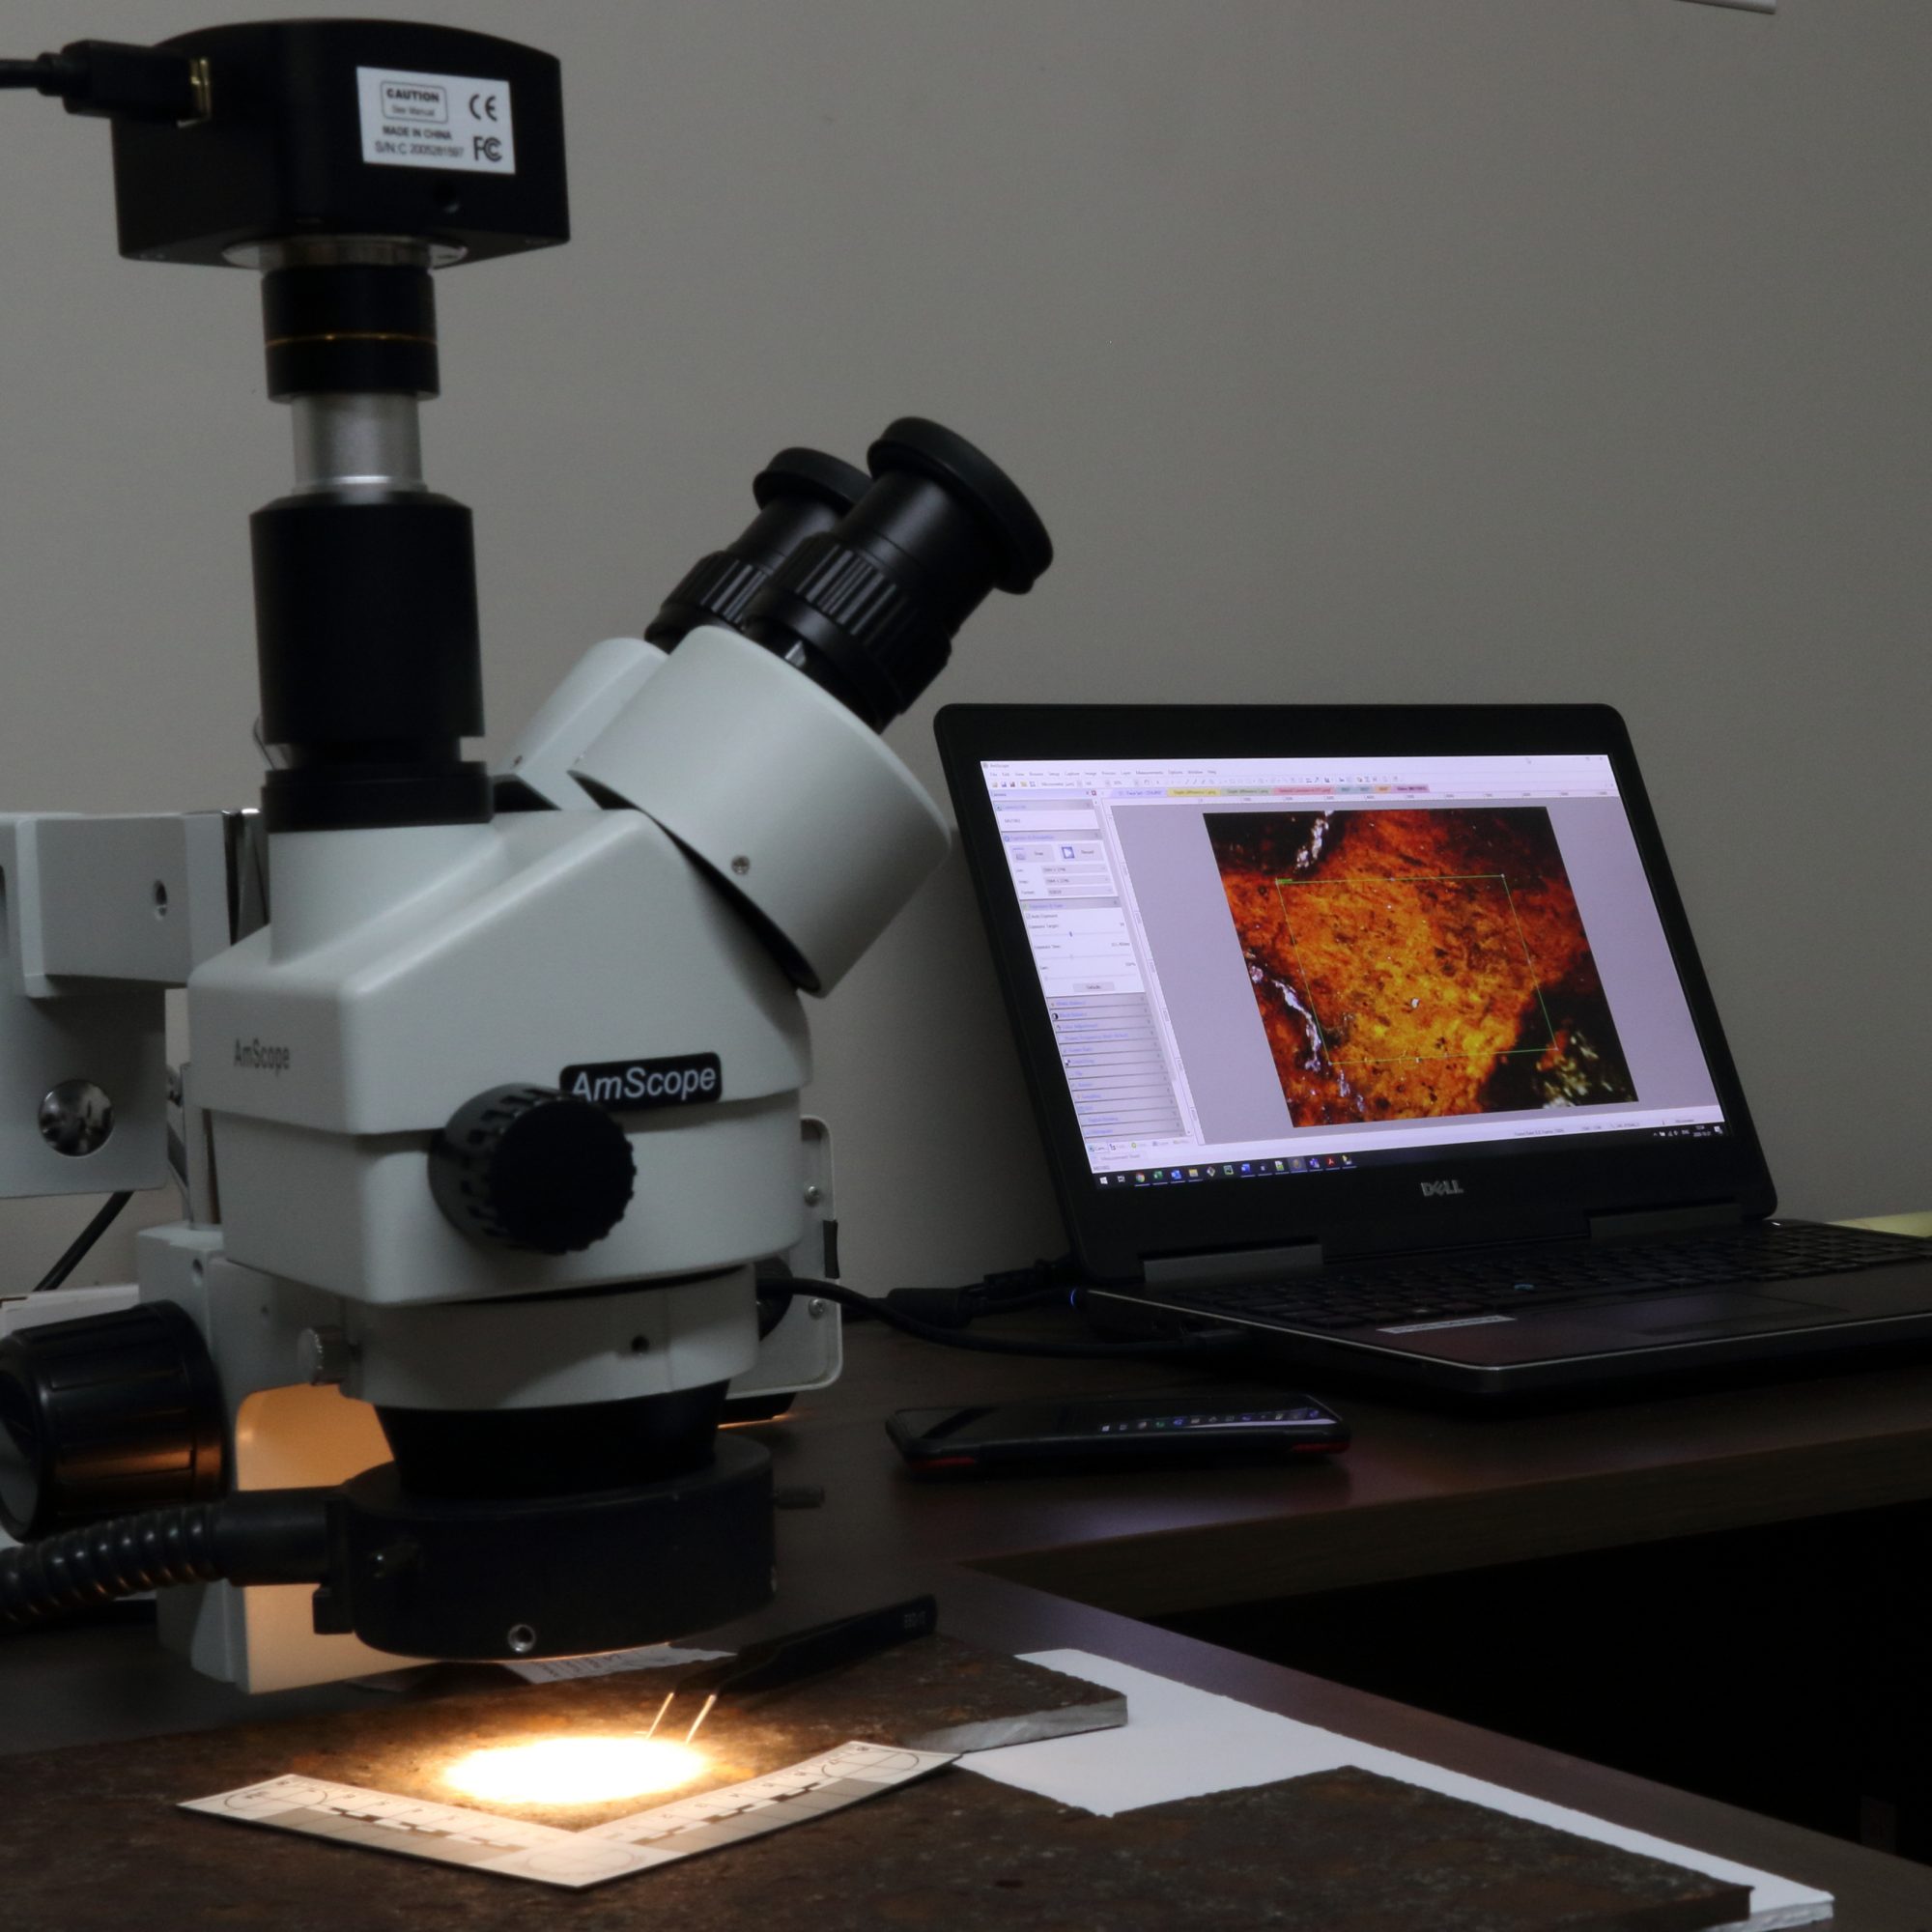
Nucleom owns two of the XRF and LIBS analyzers to provide a complete chemical analysis. Nucleom guarantee the appropriate technology for every application.
The inspection by Positive Material Identification (PMI) is extensively used in multiple industries to identify, control, and certify the used materials in the construction. An involuntary substitution of the materials in a pipe system or an under-pressure tank could lead to catastrophic defaults. This inspection, that is a semi-quantitative-non-destructive method, determines the chemical composition of the material and make it correspond to a known grade.
Applications:

It is based on the W-Ray fluorescence: An X-ray beam exists on the material that is under analysis. It then emits a characteristic radiation spectrum which is detected and analyzed to determine the elements present and their quantity.
Advantages:
Nucleom uses the XRF X550 from SciAps:
It is based on Laser Induced Breakdown Spectroscopy (LIBS). It is a type of atomic emission spectroscopy (AES). It uses a high energy laser as an excitement source. The laser is targeted at the material to form a plasma, which atomizes and excites the sample. Like a traditional optical emission spectrometer (OES), the emitted light is collected and analyzed to determine and quantify the present elements.
Advantages:
Nucléom uses the LIBS Z902 C+ from SciAps:
Ferrite testing is a fast, inexpensive, and accurate method to determine the percentage of ferrite in stainless steel, especially austenitic and duplex stainless steel. The ferrite content influences the mechanical properties, corrosion resistance and weldability of austenitic stainless steel. Appropriate ferrite content ensures a balance between ductility, strength, corrosion resistance and fracture prevention.
Hardness testing is important in production and assembly lines because as it helps determine the characteristics of a material and verify the required specifications. It also verifies whether a material is susceptible to cracking as a result of being too “hard,” or whether it is susceptible to plastic collapse from being too “soft.” Hardness testing is often required after welding or heat treatment to ensure that physical properties have not been changed beyond accepted limits.
Applications:
A Vickers diamond indenter is attached to a vibrating rod. The frequency of the rod changes on contact with the material under test. The change in frequency is proportional to the size of the test indentation produced by the Vickers diamond. Based on the signal acquired by the instrument (AlphaDur), the hardness of the material is determined. The hardness is given in HV, HB, HRC and HRB according to ASTM E140.
Advantages:
A steel impression ball is fixed in a rubber head that contacts the test bar and the sample under test. The operator strikes an anvil with a 3-to-5-pound hammer to imprint on the test bar and the test specimen. Then the imprint marks are measured, and the hardness is calculated.
Advantages: