Leak Testing (LT) can be performed using multiple techniques; the most common ones are; bubble testing – positive pressure, vacuum box and pressure variation.
Bubble testing uses a liquid solution that is applied directly on the area of interest. This solution creates bubbles when there is a leak on the pressurized part. In opposition, when using the vacuum box, it is the box that induces a negative pressure creating the bubbles when the part has a leak.
This technique is used to detect the surface flaws and welding defects, among others, in tanks floors.
Advantages:
Liquid Penetrant Testing (PT/LPI) is one of the most commonly used conventional testing methods. It is used to detect surface breaking flaws on nonporous materials such as metals, plastics or ceramics. Two products are essential to perform the inspection: penetrant and developer.
Liquid Penetrant Testing is widely used in aeronautic, steel structure fabrication and aluminum industry for welded or forged parts or castings.
Advantages:
Magnetic Flux Leakage inspection (MFL) is based on electromagnetism and the measurement of permeability variations. The Magnetic Flux Leakage analysis confirms the presence of potential flaws due to wall thickness loss caused by corrosion or surface flaws such as cracks.
For ferromagnetic tube inspection performed with MFL, a probe made of a single strong magnet induces a magnetic field in the tube until saturation. Magnetic sensors strategically positioned between the magnet poles detect the flux leakage when a thickness loss happens in the pipe. The magnetic field “leaks” out of the tube because of its incapacity to be magnetized beyond the point of saturation. This technique is mainly used in refineries.
Advantages:
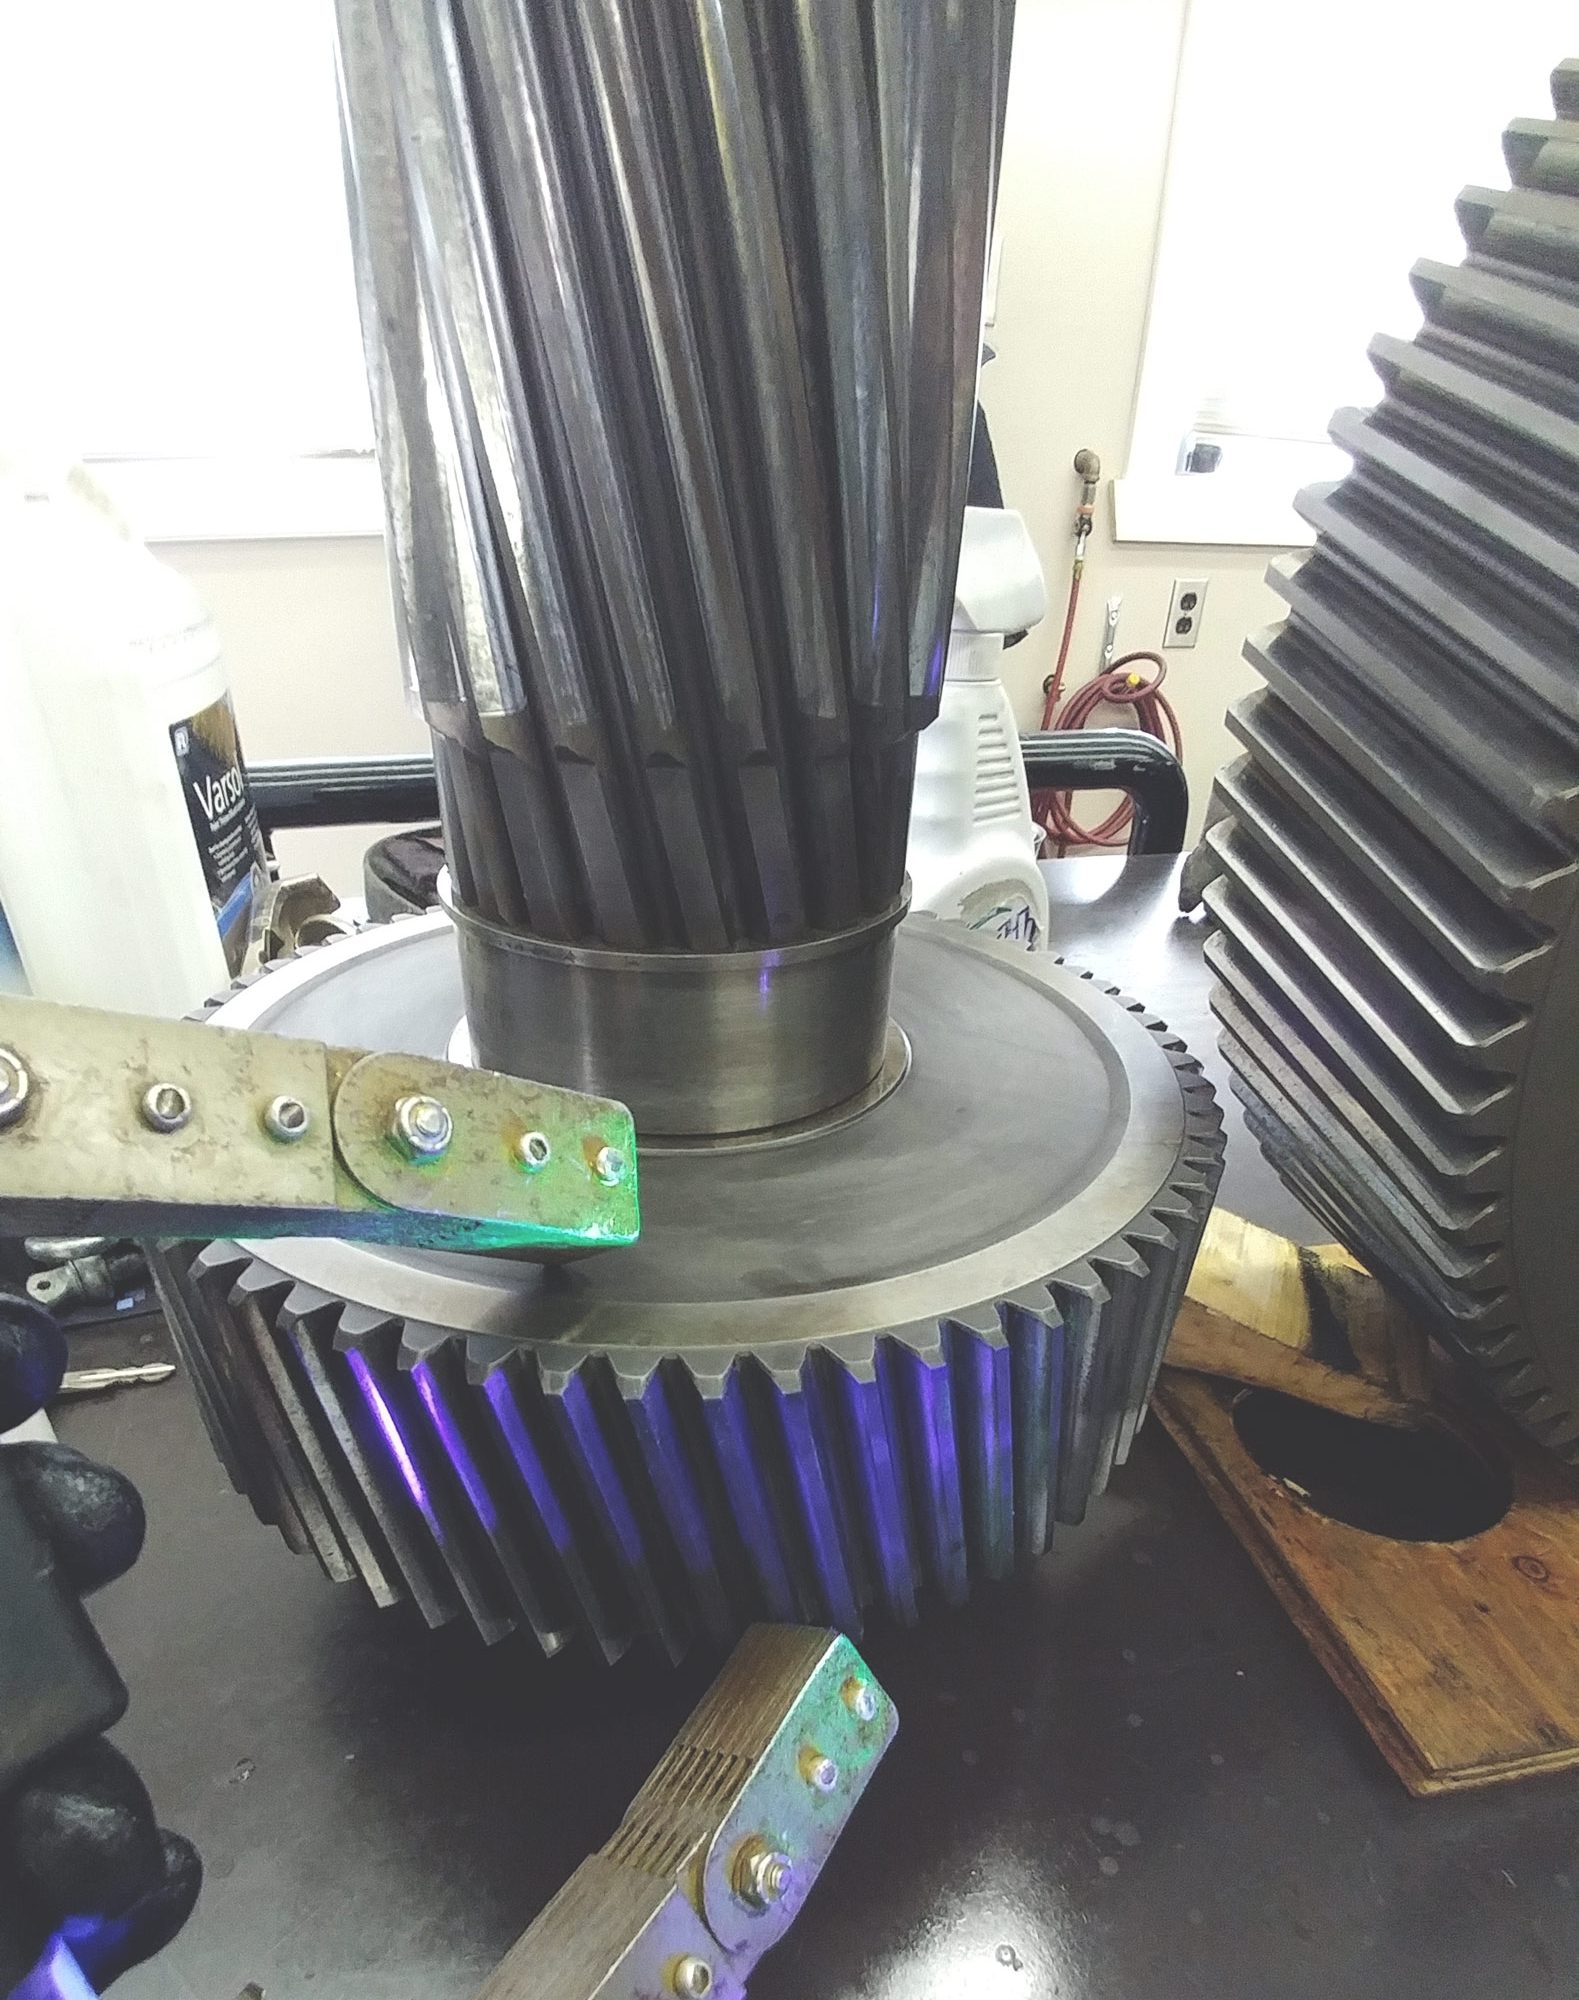
Magnetic Particle Testing (MT) is a common surface inspection technique based on inducing a magnetic field on the surface of a ferromagnetic material and spreading a powder or solution concentrated with magnetic particles that will align with the magnetic field. A crack will act as a dipole magnet for the magnetic particles to cluster.
This technique is used for surface or just below the surface discontinuity detection.
Advantages :

 Are you facing inspection challenges?
Our team of specialists is here to assist you. Discover how our services can effectively and professionally address your inspection needs.