Why use Nucleom for your field engineering inspections?
Nucleom offers specialized field engineering and metallurgical services in diverses industries. Our team of experienced engineers will support you throughout your project.
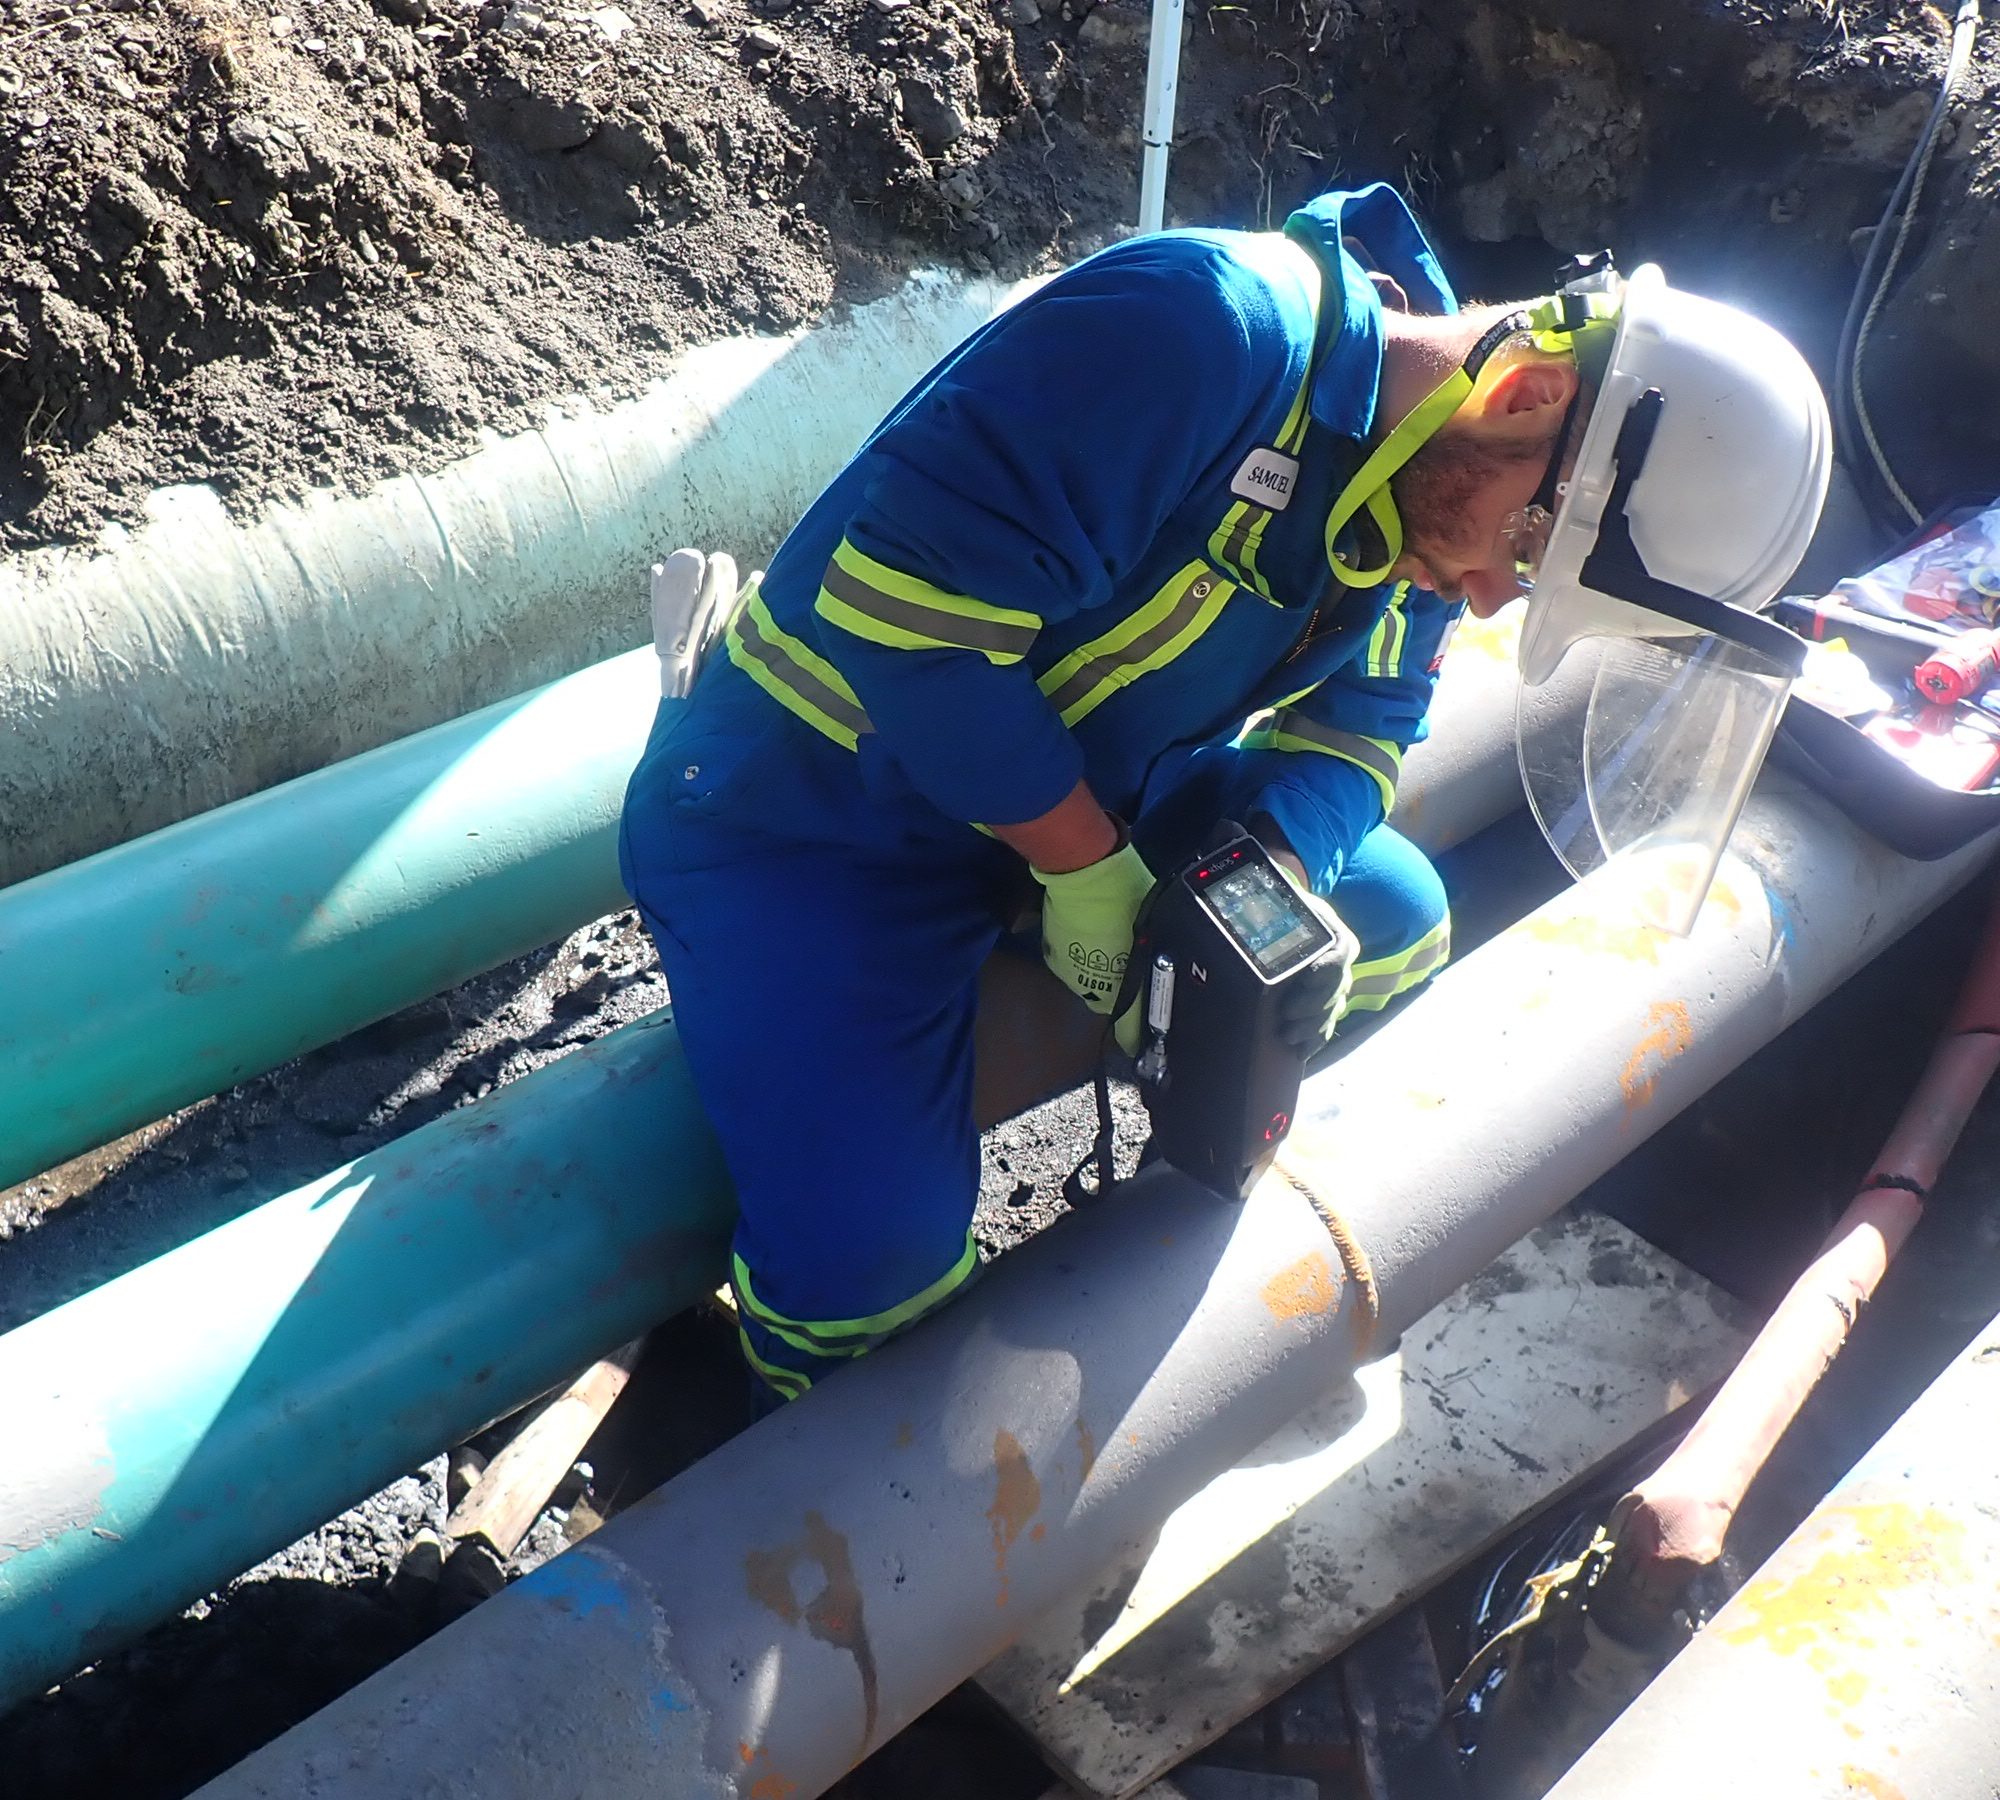
Positive Material Identification (PMI)
The inspection by Positive Material Identification (PMI) is extensively used in multiple industries to identify, control, and certify the used materials in the construction. An involuntary substitution of the materials in a pipe system or an under-pressure tank could lead to catastrophic defaults. This inspection, that is a semi-quantitative-non-destructive method, determines the chemical composition of the material and make it correspond to a known grade.
Applications:
- AQ/CQ on the new constructions, on the maintenance activities and on the existing equipment.
- Validating that the chemical composition of a product is in accordance with the norms, with the code and to the material’s specifications.
- Making sure that the components were welded with the right filler metal.
- Identifying the incorrect materials or potentially mixed up (for example, the substitution of carbon steel in low alloy steel systems).

Nucleom is proposing two different technologies for PMI inspections
1. Portable XFR analyzer
It is based on the W-Ray fluorescence: An X-ray beam exists on the material that is under analysis. It then emits a characteristic radiation spectrum which is detected and analyzed to determine the elements present and their quantity.
Advantages:
- Rapid determination/ identification of the material’s ranking
- Rapid determination / identification of the principal alloyed elements (elements and concentration)
- Detection and measures of the phosphorus (P) and sulfur (S).
Nucleom uses the XRF X550 from SciAps:
- Designed to detect low concentrations of Ni, Cu and Cr (< 0.03% each) and Nb and V at < 0.02% to meet the requirements of the API 751 and API 5L norms.
- It can detect Si down to 0.03% with a two-beam test to meet the API 939 requirements.
- Small form factor that allows it to reach into confined areas.
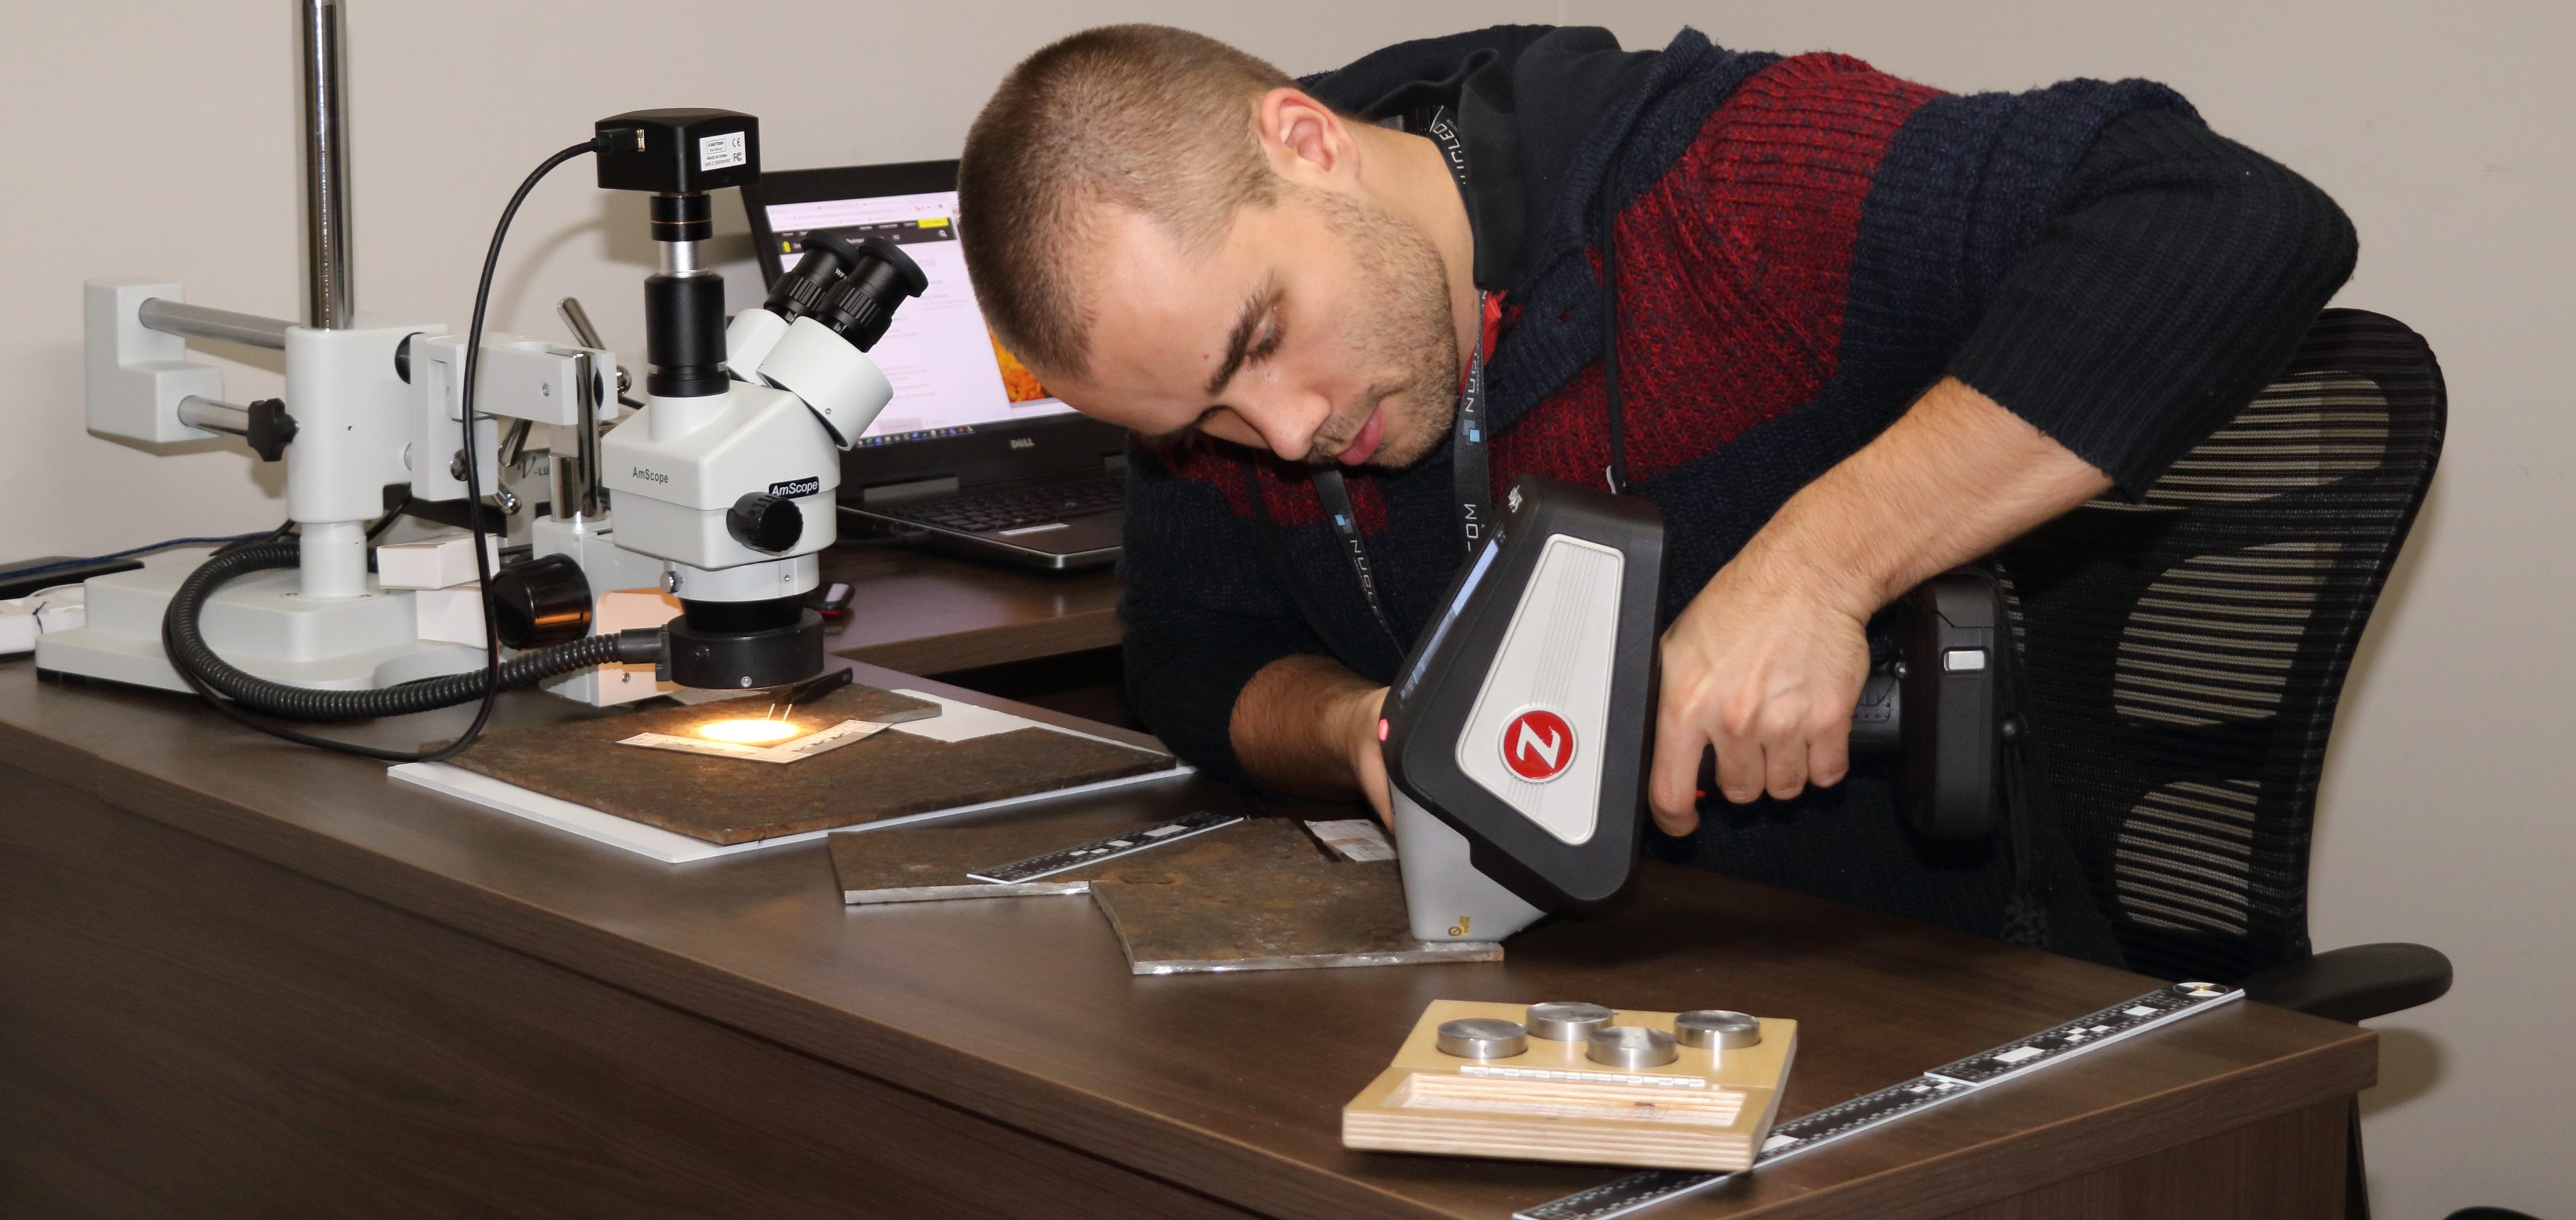
2. Portable LIBS analyzer
It is based on Laser Induced Breakdown Spectroscopy (LIBS). It is a type of atomic emission spectroscopy (AES). It uses a high energy laser as an excitement source. The laser is targeted at the material to form a plasma, which atomizes and excites the sample. Like a traditional optical emission spectrometer (OES), the emitted light is collected and analyzed to determine and quantify the present elements.
Advantages:
- Allows the detection of elements lighter than magnesium (Mg) such as carbon. This technology can therefore differentiate the different ranks of stainless steel and weakly alloyed.
- The argon cartridge is integrated in the analyzer. No optical path, or external cartridge to carry out on the field.
- Allows on-site determination of pseudo-elements such as equivalent carbon for welding.
Nucleom uses the LIBS Z902 C+ from SciAps:
- It can detect carbon down to 70 ppm.
- Confirms alloy type and quality of 300 series stainless steels in L, H and S series.
- Small form factor allows it to reach into confined areas.
Ferrite Determination
Ferrite testing is a fast, inexpensive, and accurate method to determine the percentage of ferrite in stainless steel, especially austenitic and duplex stainless steel. The ferrite content influences the mechanical properties, corrosion resistance and weldability of austenitic stainless steel. Appropriate ferrite content ensures a balance between ductility, strength, corrosion resistance and fracture prevention.
Hardness testing
Hardness testing is important in production and assembly lines because as it helps determine the characteristics of a material and verify the required specifications. It also verifies whether a material is susceptible to cracking as a result of being too “hard,” or whether it is susceptible to plastic collapse from being too “soft.” Hardness testing is often required after welding or heat treatment to ensure that physical properties have not been changed beyond accepted limits.
Applications:
- Hardness testing is the most widely used, most simple and quickest test to evaluate the mechanical properties of a material.
Nucleom uses two technologies for hardness inspection
1. Ultrasonic Impedance Contact (UIC) Test Method | ASTM A1038
A Vickers diamond indenter is attached to a vibrating rod. The frequency of the rod changes on contact with the material under test. The change in frequency is proportional to the size of the test indentation produced by the Vickers diamond. Based on the signal acquired by the instrument (AlphaDur), the hardness of the material is determined. The hardness is given in HV, HB, HRC and HRB according to ASTM E140.
Advantages:
- Quick.
- Leaves a very small imprint on the material under test.
- No optical reading.
2. Compression Test Method (ASTM A833)
A steel impression ball is fixed in a rubber head that contacts the test bar and the sample under test. The operator strikes an anvil with a 3-to-5-pound hammer to imprint on the test bar and the test specimen. Then the imprint marks are measured, and the hardness is calculated.
Advantages:
- Lightweight.
- No calibration required.
 Are you facing inspection challenges?
Our team of specialists in filed engineering is here to assist you. Discover how our services can effectively and professionally address your inspection needs.
