Visual Testing (VT) is based on the inspection for flaws that are visible to the naked eye and is the most commonly used NDT method across all industries. It allows for a feasible and fast control of quality at every step of the fabrication or maintenance process.
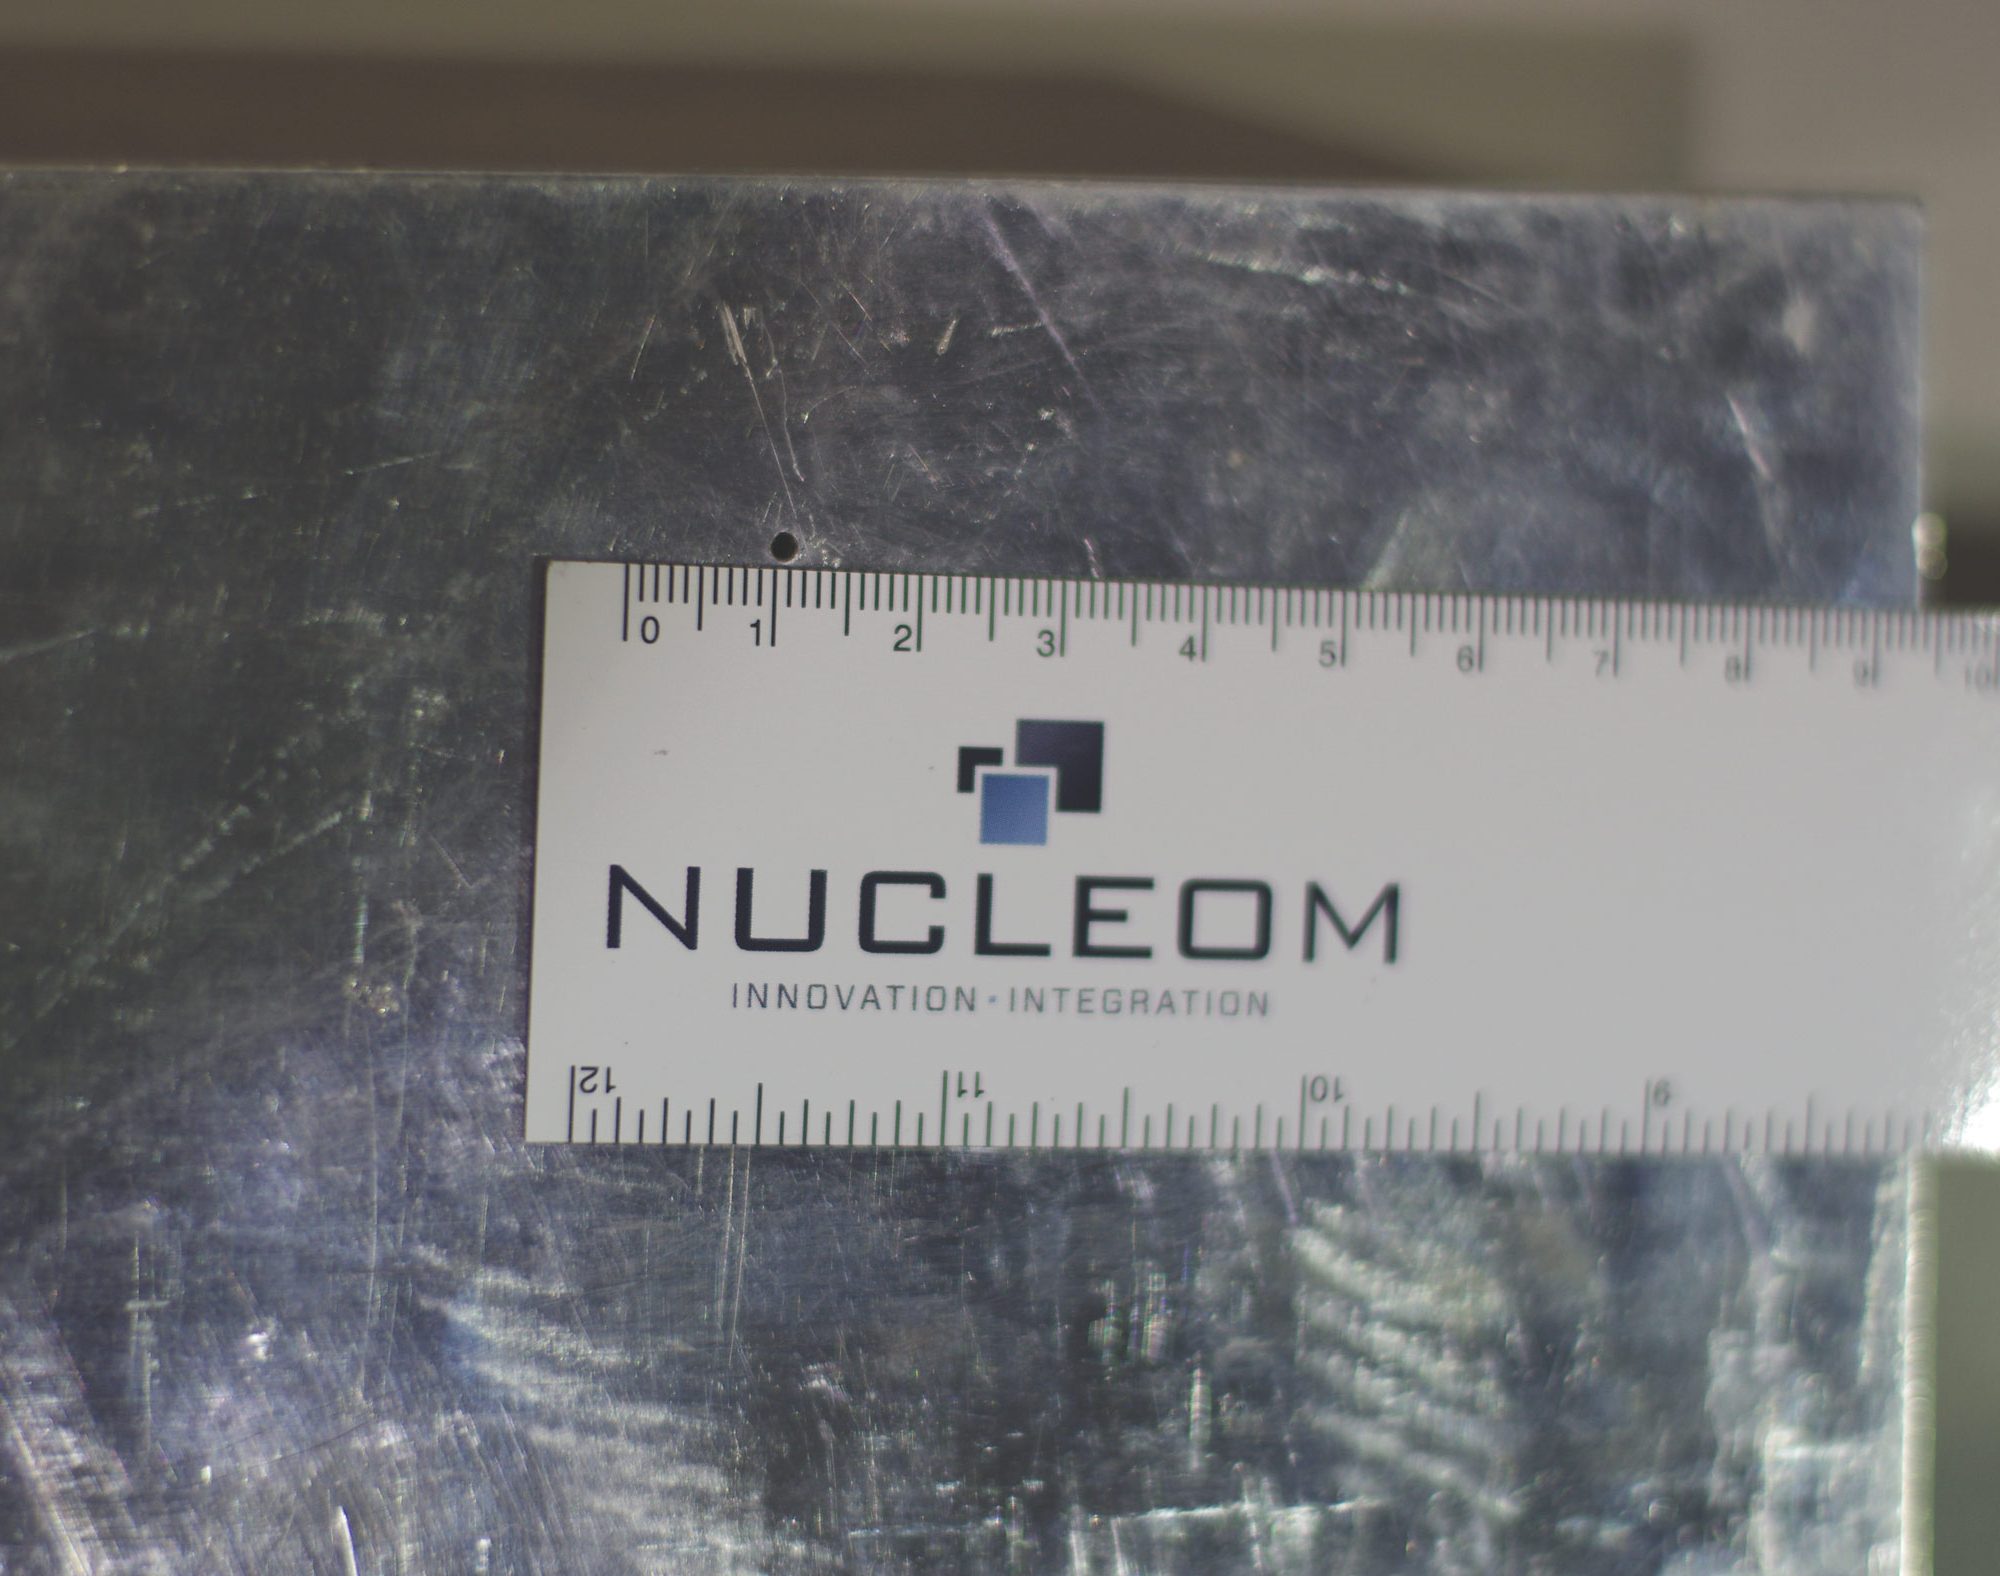
Visual Testing (VT) is used to detect visible flaws such as deformation, welding defects and corrosion. Many tools can be used during the inspection such as a ruler, gauges, cameras, etc.
Advantages:

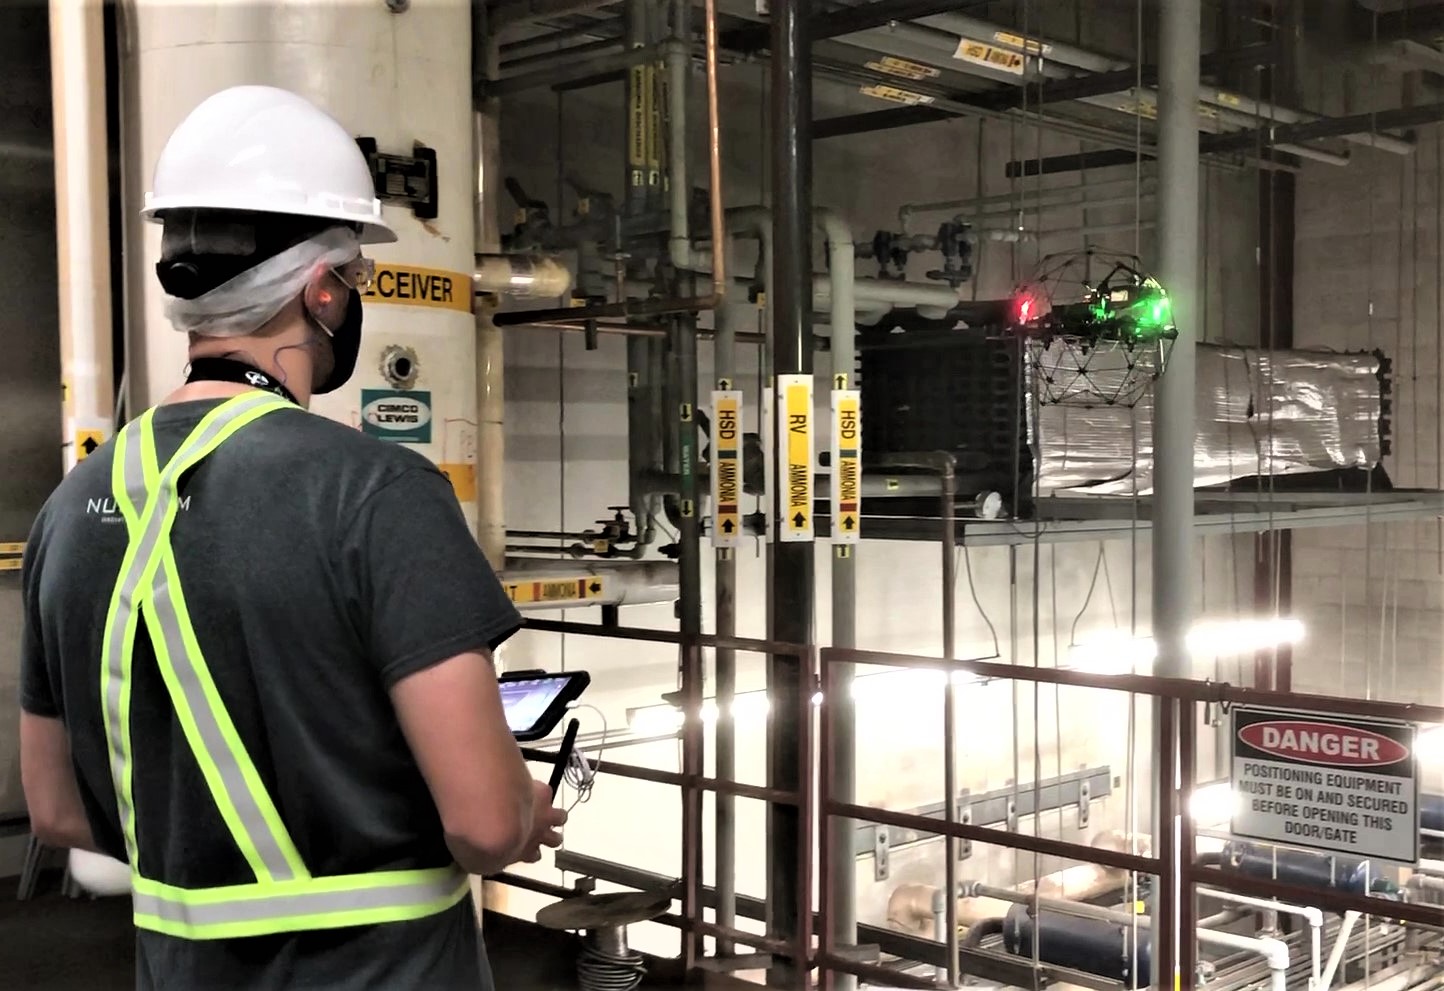
During the drone-based visual inspection, a collision tolerant drone can be deployed in confined spaces or inaccessible areas. A team composed of an inspector and a drone pilot conduct the inspection from a safe location enabled by a powerful lighting system, a 4k video camera and a thermal camera which is installed on the drone.
Advantages:

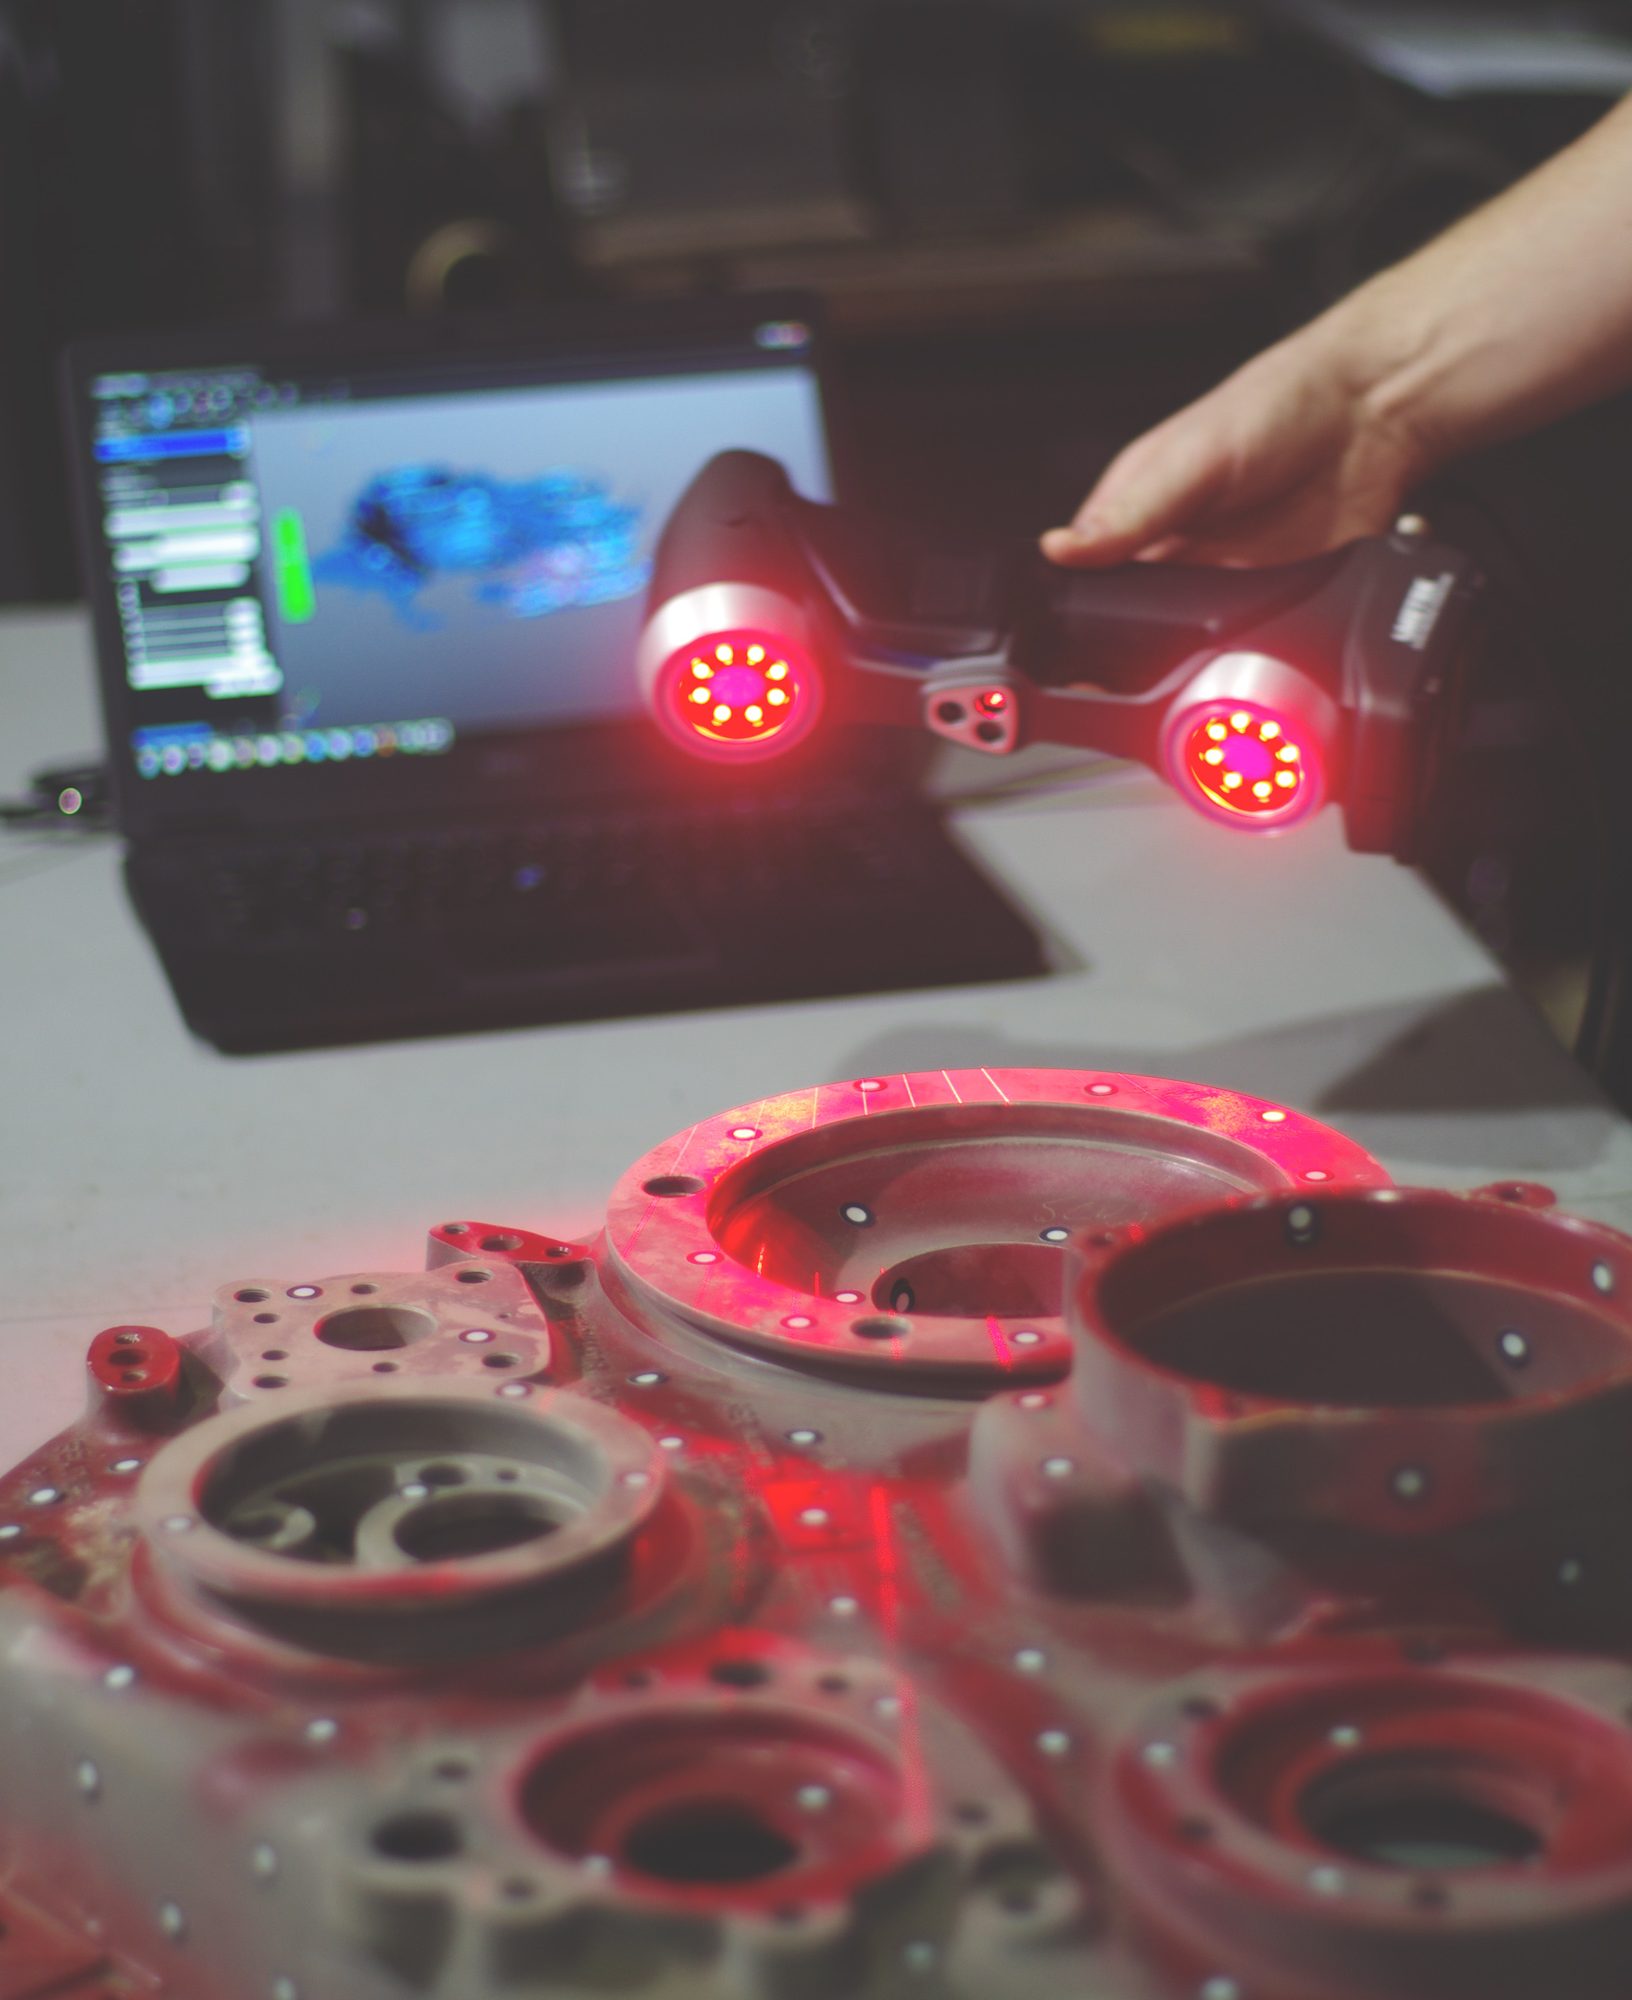
3D scanner inspection and the application of 3D technology are new techniques that were introduced in various areas, such as the inspection of surfaces and metrology. 3D scanners along with their dedicated software allow for the integrity analysis of components and facilitate a precise assessment of their dimensions.
In refineries, 3D scanning is used to characterize corrosion and mechanical damages, offering efficient acquisition and analysis. The acquired data can easily be combined with ultrasound data for a complete profile of the part section, 3D providing the surface data while ultrasound provides the volumetric profile.
Advantages:

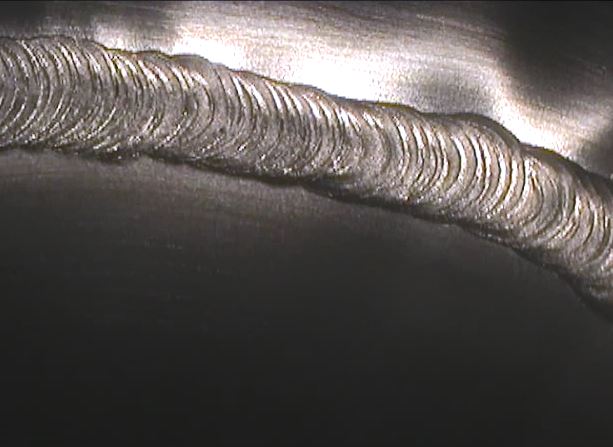
Remote Visual Inspection (RVI) is the evolution of the traditional visual testing and it is based on the use of flexible borescopes, videoscopes or similar equipment.
This technique evaluates the discontinuities or other degradation phenomena not accessible in-situ to the naked eye. The observations can then be evaluated based on the different codes or norms. A typical application is the inspection of the suction roller holes in the paper industry, or piping in the petrochemical and power generation industries.
Advantages:

 How can Nucleom’s visual inspection solutions can contribute to the success of your project ?
Our team of experienced engineers and technicians will work with you to tailor a solution to your specific needs.